
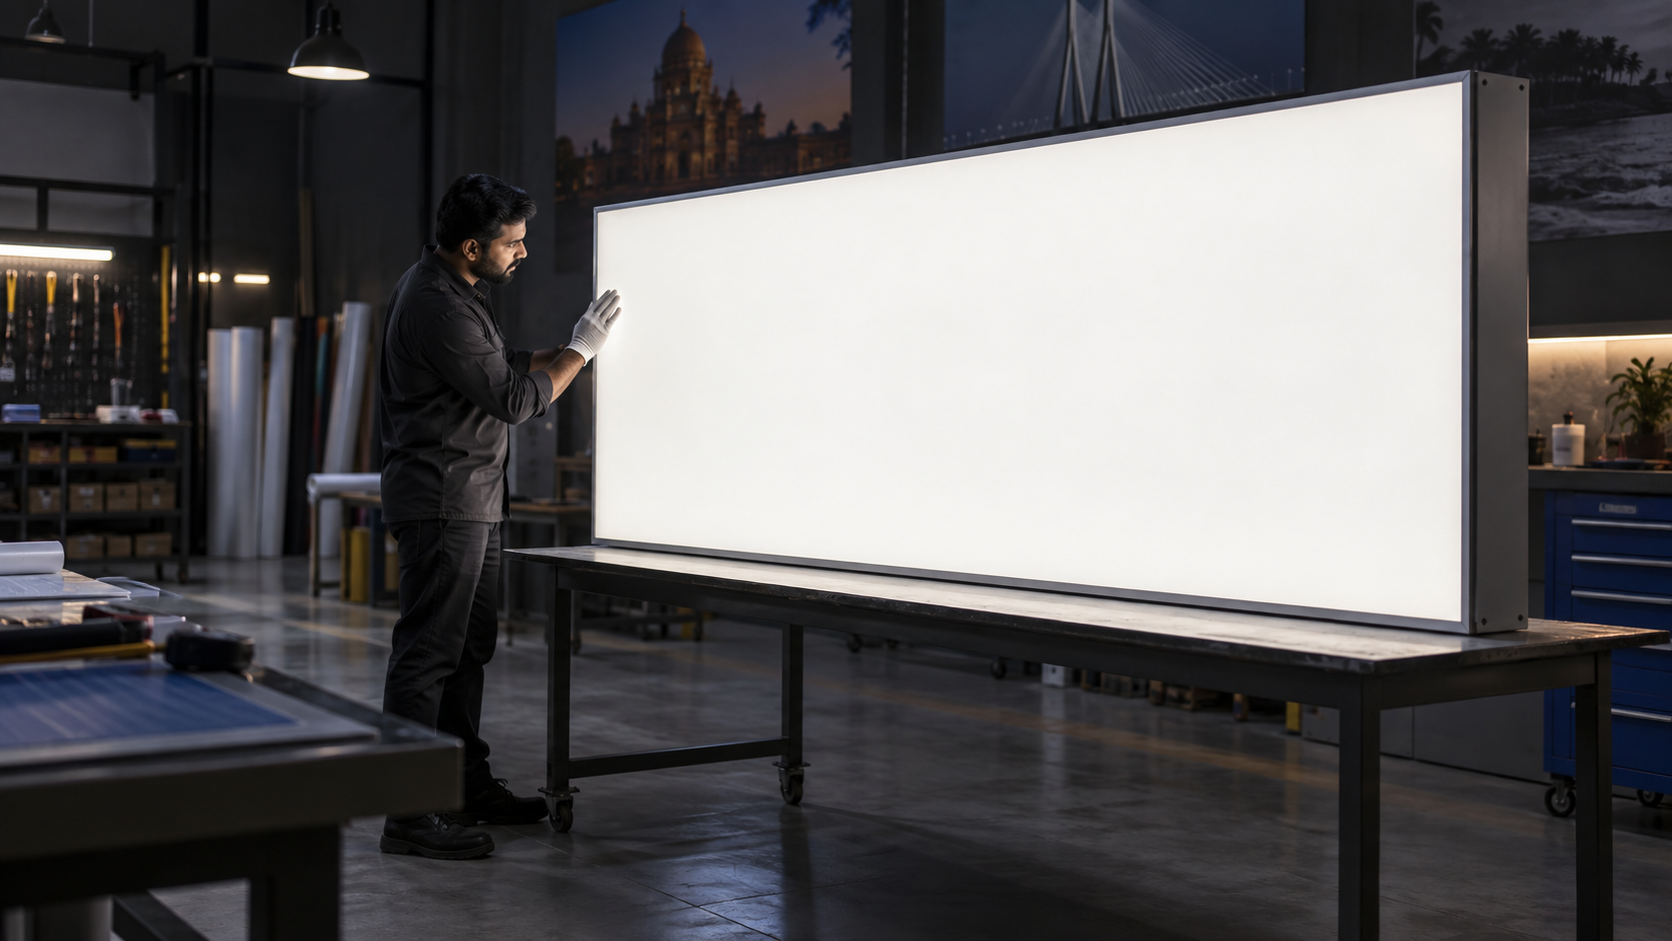
An effective light box should read as one calm, continuous illuminated surface. The face material, cabinet depth, reflective interior and LED module layout all contribute to that result, so the best decisions are made as a complete system rather than as separate component choices.
Start with the viewing experience
Before selecting modules or spacing, define how the sign will be viewed. A compact retail sign seen at close range needs particularly smooth diffusion, while a larger fascia viewed from across a road is judged from a greater distance. Record the face dimensions, intended viewing distance, installation height and whether the sign will be used mainly during the day, at night or in both conditions.
This brief gives the fabricator a practical target. It also helps the material supplier understand whether an opal acrylic face, a particular cabinet depth or a different internal arrangement should be sampled first.
Choose a face material that supports diffusion
For illuminated signage, the face must distribute light while retaining the required colour and visual character. Opal cast acrylic is commonly considered where even diffusion is the priority. Solid coloured acrylic can also be used to create strong brand colour while allowing light to pass, without appearing see-through.
Do not judge the material only as an unlit sheet. Review a physical sample over the proposed light source because colour, brightness and diffusion are experienced differently once the sign is illuminated. Crystal Polycast can help fabricators review suitable WALCAST cast acrylic options for signage and current availability.
Coordinate depth and LED spacing
Cabinet depth and module spacing work together. A useful workshop test uses the real face material, the intended sign depth and the planned LED module family. Begin with an evenly measured layout, then review the sample from the normal viewing distance. If individual points remain visible, adjust the relationship between depth, spacing and face material before repeating the layout across the complete sign.
Keep module rows straight and maintain consistent distance from the cabinet edges. Irregular spacing around corners, returns and narrow sections is often more noticeable than variation in the centre of the panel. A simple marked template can make repeated cabinet production more consistent.
Use the cabinet interior deliberately
A clean, reflective interior helps distribute available light. Keep internal surfaces consistent and avoid unnecessary obstructions that can create dark areas or shadows. Wiring should be routed neatly, with drivers and connection points positioned for safe assembly and practical future access.
The electrical system should be specified by the responsible fabricator or installer for the real sign dimensions and installation conditions. Crystal Polycast supplies CPB LED modules, power supplies and control options for trade enquiries, allowing the lighting components and face material to be discussed within the same project brief.

Review the sign in real conditions
Inspect the test in both illuminated and unlit states. Check it directly from the intended viewing distance, then review corners, narrow strokes and areas around internal supports. If the sign will be installed outdoors, consider the surrounding ambient light and the direction from which most visitors will approach.
Photographs are useful records, but the approved physical sample should remain the main reference. Phone cameras can automatically brighten dark scenes and hide small differences in illumination. Label the sample and keep its production notes with the job.
Create a repeatable fabrication brief
Once the result is approved, convert it into a clear production sheet. Include the sign size, cabinet depth, acrylic reference, LED module, module spacing, row layout, power supply arrangement and any special corner details. This reduces interpretation on the workshop floor and supports consistency when a project includes several signs or future additions.
To discuss a light box project, share the face dimensions, required colour, cabinet depth and expected quantity with the Crystal Polycast team. We can help you review current material and component options before you prepare the final illuminated sample.