
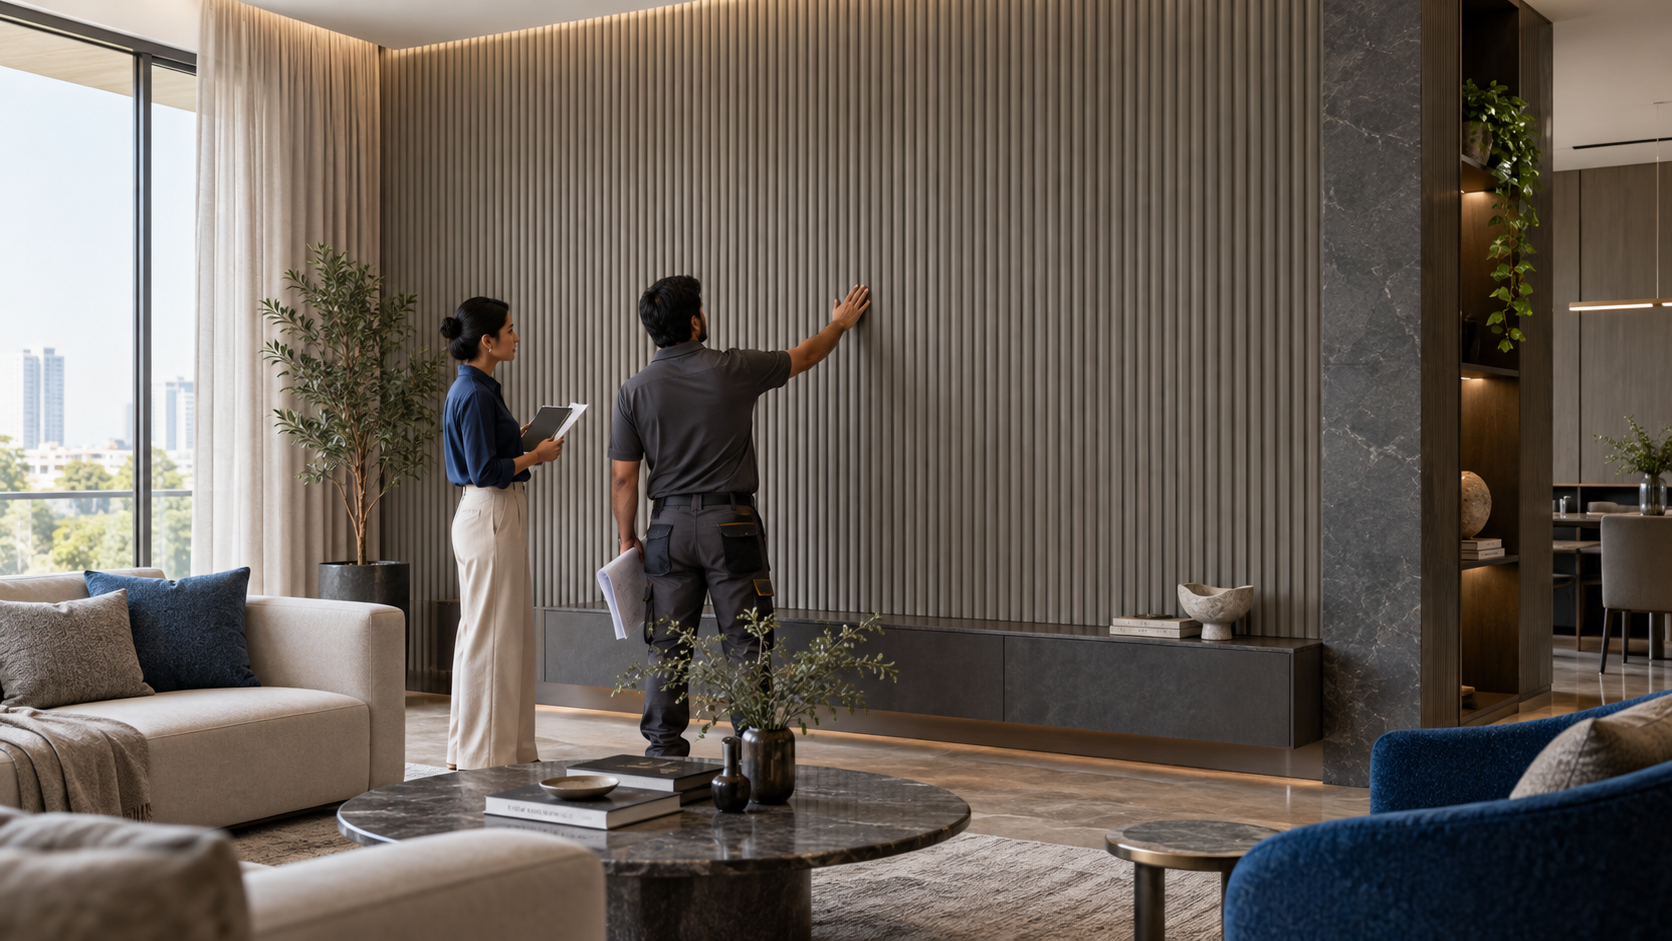
A fluted feature wall works best when the layout is resolved before panels reach the site. Module width, wall proportions, joints, corners and the position of furniture should be considered as one composition.
Start with the wall elevation
Measure the complete wall and mark doors, switches, sockets, screens and fixed furniture. Draw the panel rhythm across the full elevation so narrow cuts do not appear unexpectedly at the edges. A centred layout can suit a formal reception, while an offset arrangement may respond better to shelving or a television unit.
Use the actual panel width when setting out the pattern. Small differences repeated across a large wall can shift the final joint position, so the drawing should reflect the chosen product rather than a generic dimension.
Coordinate edges and transitions
External corners, internal corners and junctions with other finishes deserve early attention. Decide whether the panel will stop against a trim, return around a corner or meet a plain painted surface. The transition should look intentional from the main viewing direction.
Use lighting to support the texture
Fluted surfaces create a natural pattern of light and shadow. Wall washers, concealed lighting or nearby daylight can strengthen that texture without adding decoration. Review a sample in the project lighting because colour and groove depth are perceived differently under warm and cool light.
Approve one representative detail
A small mock-up can confirm the joint, trim and relationship with skirting or cabinetry. Label the approved finish and retain the sample with the drawing so ordering and installation refer to the same decision.
Prepare the material request
When checking availability, share the wall dimensions, chosen orientation, preferred finish, approximate quantity and delivery city. Crystal Polycast supports dealers, architects, interior designers, contractors and retailers with current product references and catalogue assistance across India.